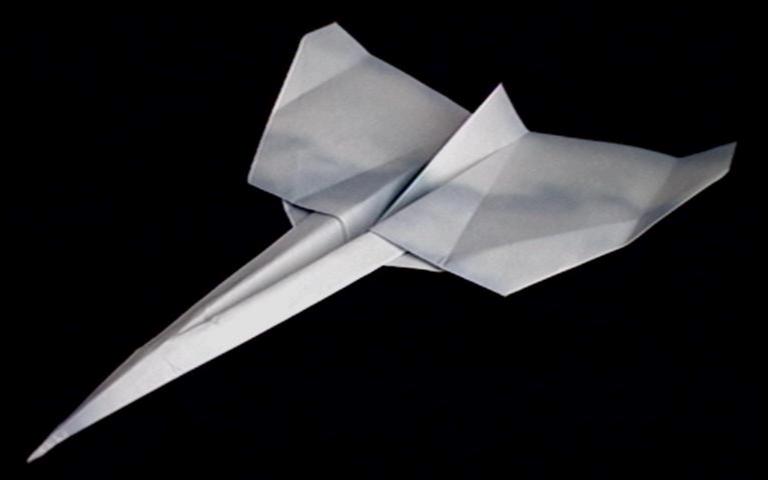
Aero Spike
|
 |
| Property | ----|----| |
|---|
| | Difficulty |
________] |
| Speed |
________] |
| Range |
________] |
| Stability |
___] |
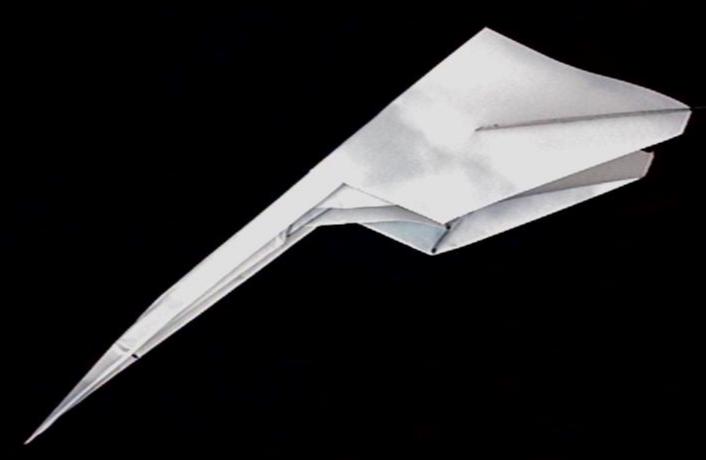
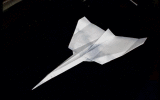
| Subjective Analysis: Based on the web access logs, the spike-planes have been the most popular, so here I present the newest addition to the series. Interestingly, no two of the "spike" series share the same base folds. Since the Aero Spike is a relative of the classic dart paper airplane, it inherits some pretty bad roll instabilities. Most of the subtle folds at the end of construction should help somewhat, but a careful eye and attention to trim are necessary to help you get some steady flights out of it.
|
Folding instructions:
- dashed lines indicate valley folds
- solid lines indicate mountain folds
- congruent angles are indicated
|
- We start off with the base for the common dart aircraft. Begin by folding the paper in half along its centerline.
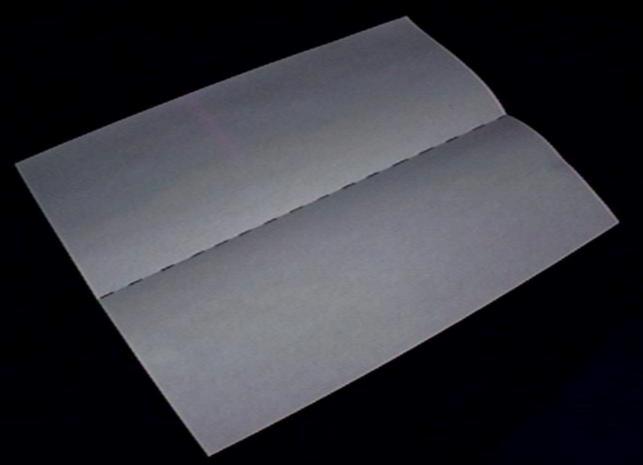
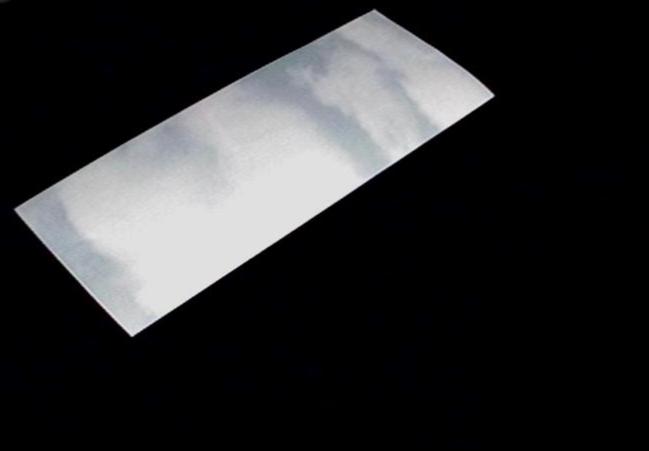
- Here the paper is folded in half. Note that one side of my paper has a cloud pattern. Unfortunately, since most of the clouds are white, they may not always help you determine which side of the paper is visible in the following photos. I apologize for sacrificing functionality in favor of aesthetics, but the cloud paper simply looked much better and more appropriate than anything else that was available at the office supply store I got it from.
- fold the two corners toward the centerline, making sure the edges of the paper line up along the centerline well
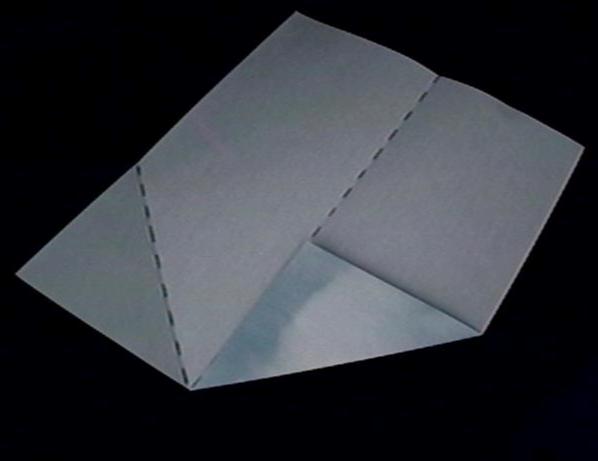
- fold the new edges toward the centerline again, giving you your basic dart aircraft shape.
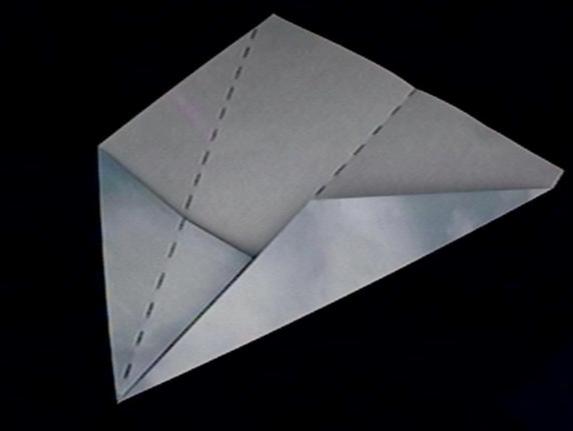
- Fold the plane roughly in half, near the point where the two edges of paper meet near the center.
- The nose should stick out about an inch behind the aircraft. Line up the centerlines before creasing the fold, and also make sure that there isn't too much slack in those loose edges of paper on the wing.
- Now prepare to bring the nose back to the front with another fold. Just fold along the top layer of the dashed line, and let the nose swing out back to the front...
- ... so you'll end up with an accordion fold. To align the fold properly, I try to make the edges of paper line up at the point indicated by the ruler in this image:

- Crease the paper on both sides of the wing as indicated by the dashed line. Leave it unfolded... the crease will come in handy later.

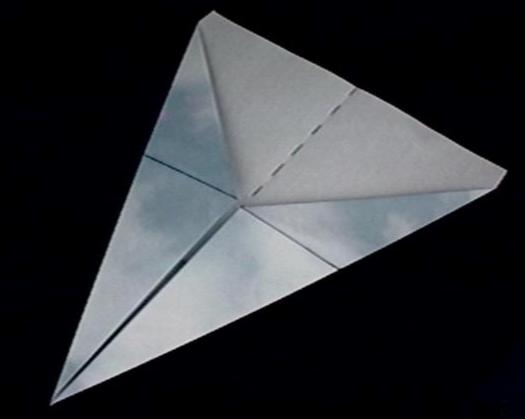
- Now for a hard fold... start by folding the nose in half yet again. First ignore the paper on the wing until you complete this fold, and run your fingernail along the crease from the ruler down the fold until you get into the wing. Then flatten out the paper on the wing...
- ... as depicted below. Note the locations of the corner of the triangle on the wing.
- Remember that crease you made earlier? Fold it in now, except tuck it inside the wing rather than on top of it as shown on the right side of this picture:
- Now you can make some landing skids with the small flaps of paper on the wing. Simply fold them up at a right angle. They also serve to stiffen the leading edge of the wing.
- Now bend the nose up slightly about an inch from the tip.
- Lay the plane flat on its back on the table, and start drawing the centerline up in your fingers, using your nails to crease the paper along the dashed lines shown.
- Note how the creases meet at the fold in the nose and not at the very tip of the nose.
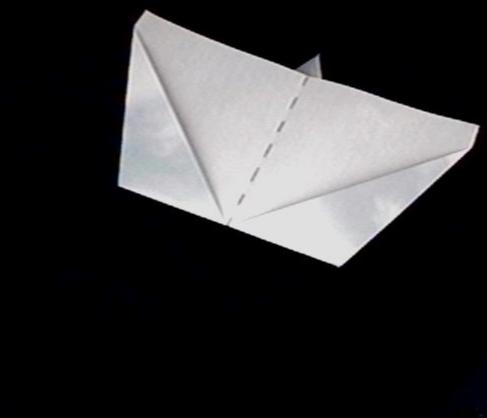
- Flatten the wings down on both sides of the fuselage and spend some time working on the creases and checking the wing symmetry.
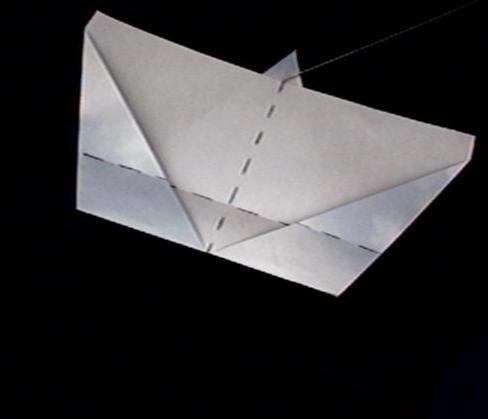
- Now fold the wings out along the dashed lines. These lines run from the rear root of the wing to the sides of the "engine nacelles". See the next step for further alignment instructions.
- On the bottom of the wing, note how the line runs through the vertex of several edges in the middle of the wing.
- Now, back on top of the aircraft, fold up a tail.
- Crease the wings slightly on the lines shown. The leading edge should point downwards at slight angle.

- This plane needs some polyhedral for lateral stability. Fold up the wing tips along the dashed lines slightly.
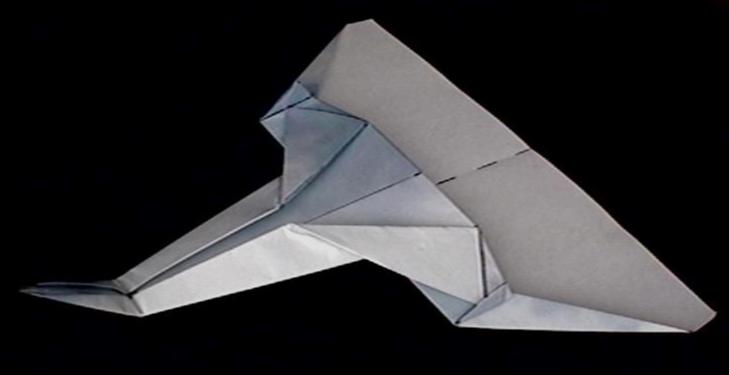
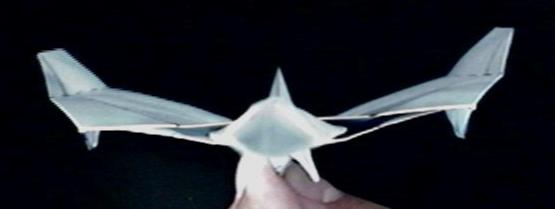
- Here's how the aircraft should look head-on. Try to keep the "engine nacelles" from getting too large, since they really make the plane unstable. Note how the nose flares out from tip to wing. Also note the landing skids and polyhedral shape of the wing.
- The following steps are optional, but will help make the plane look nicer on the ground. Crease the rear tip of the fuselage ...
- ... and fold it into the tail slightly as shown. This will raise the tip of the nose higher off the ground when the plane is sitting still.
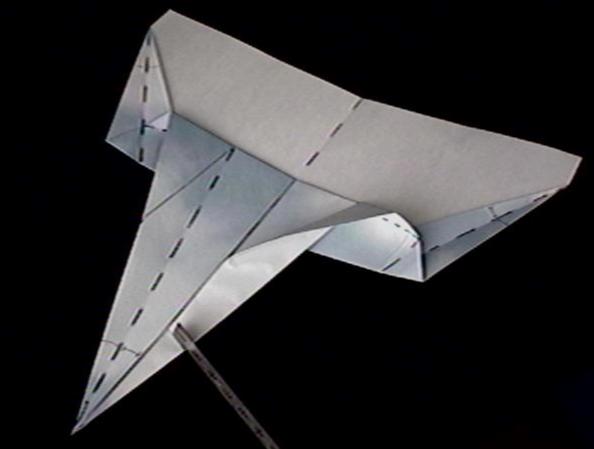
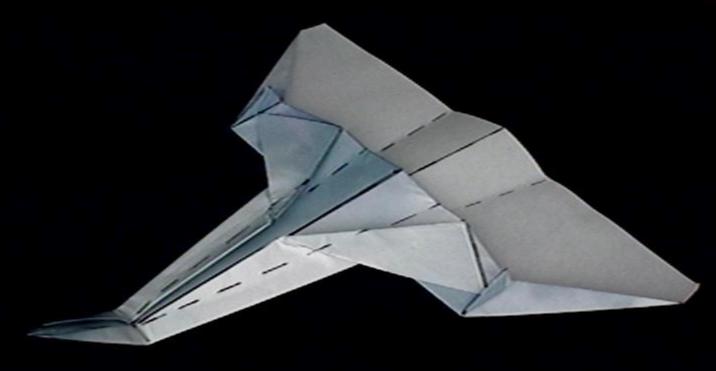
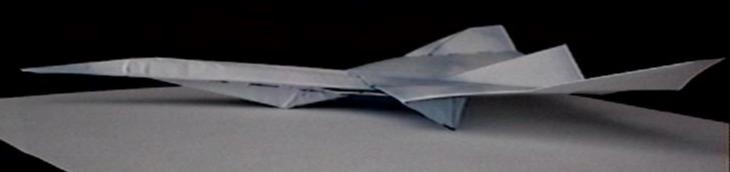
- The plane now sits on the ground as shown:
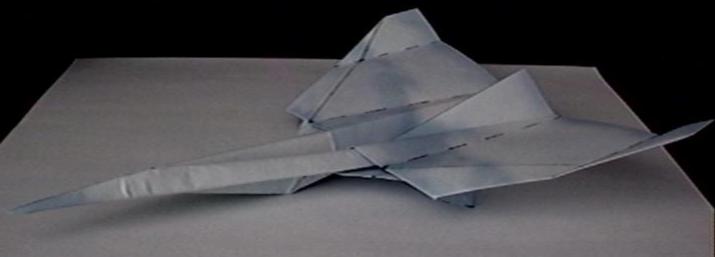
- Flaps from the nose support the front of the plane. Adjust the wings until the landing skids on the sides lightly touch the ground.
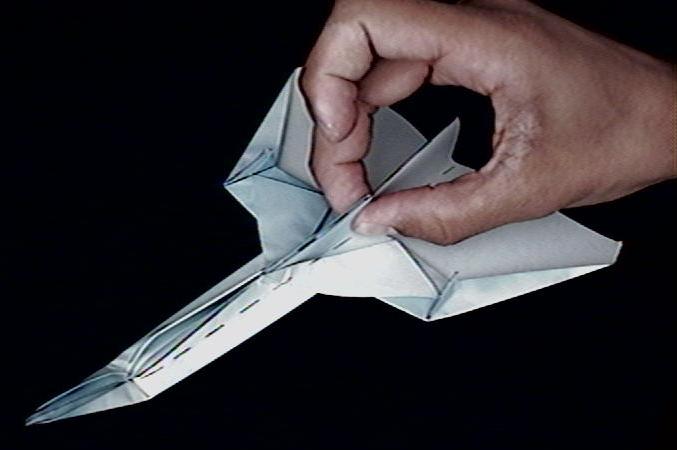
- The Aero Spike takes skill to trim enough to fly well.
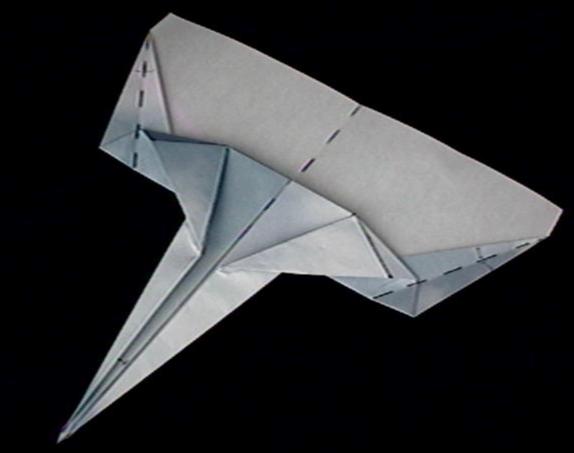
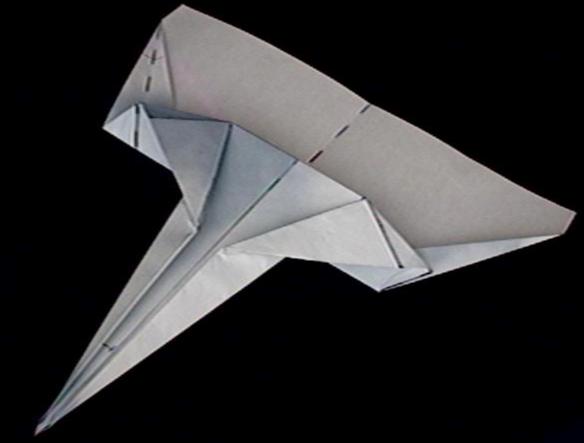
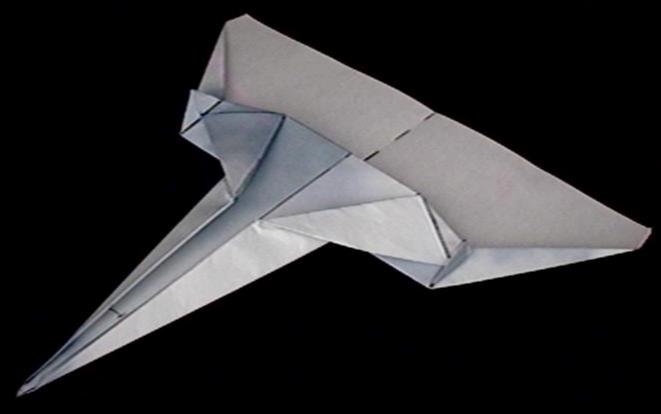
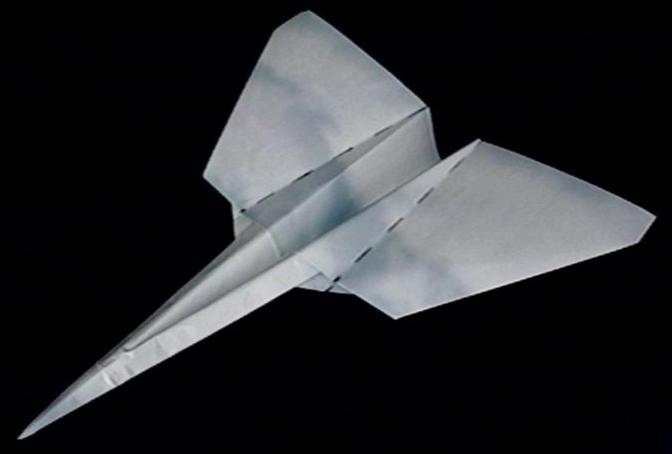
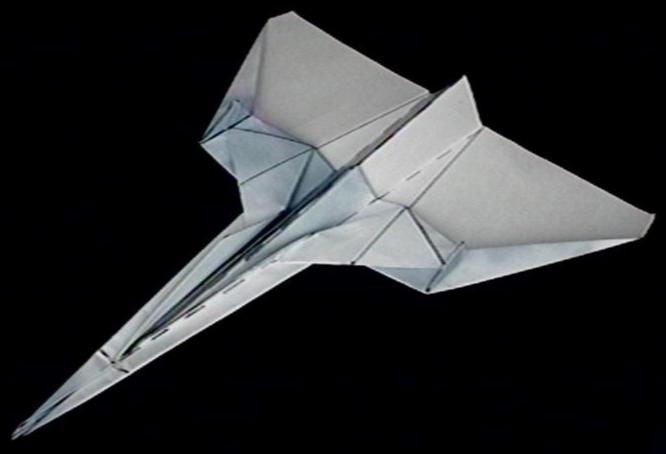
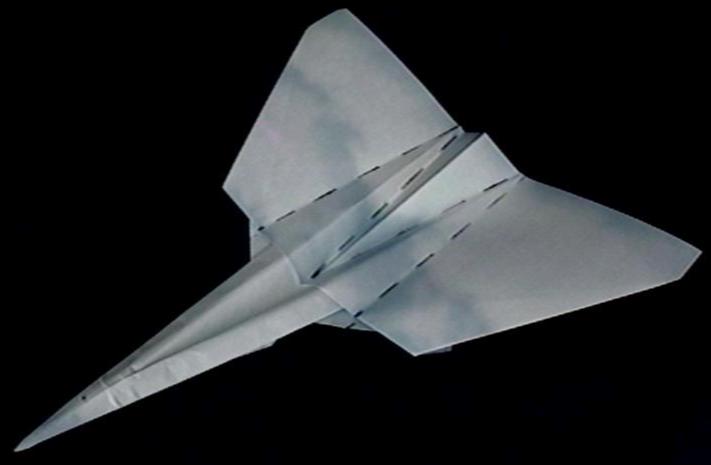
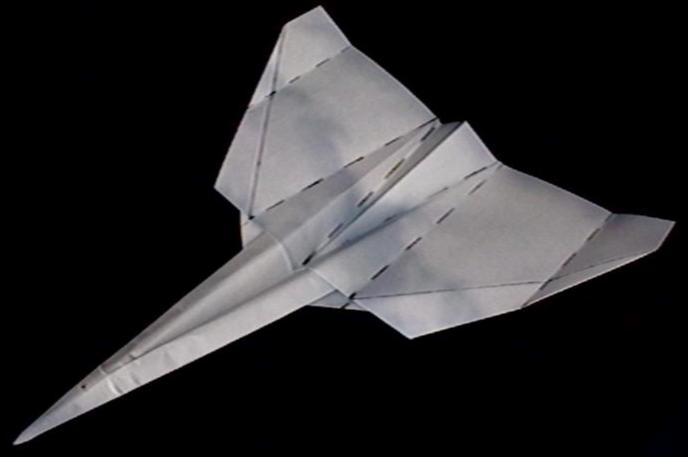
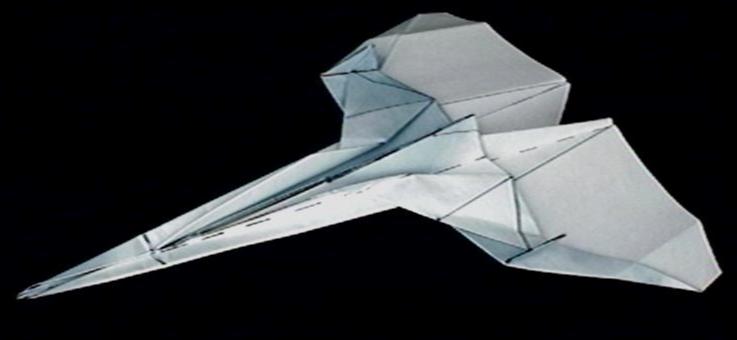
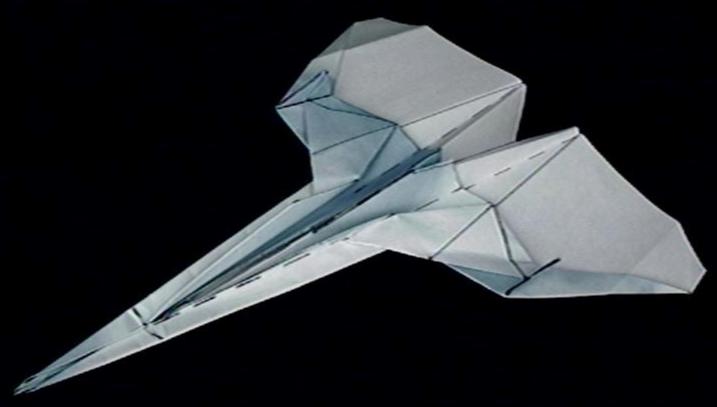
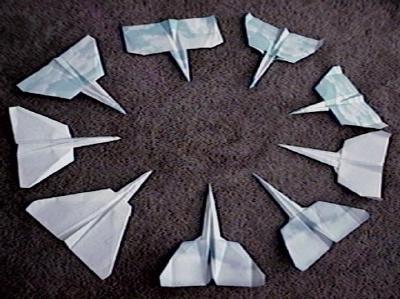
For the curious, here's a little evolutionary diagram of the development of this aircraft. It goes roughly clockwise from the bottom left.
And here's an animation of the craft on my makeshift turntable:
... also available in mpeg format, which you can play in loop mode.
Rowin Andruscavage
Last modified: Tue Dec 20 12:08:16 PST 2016
